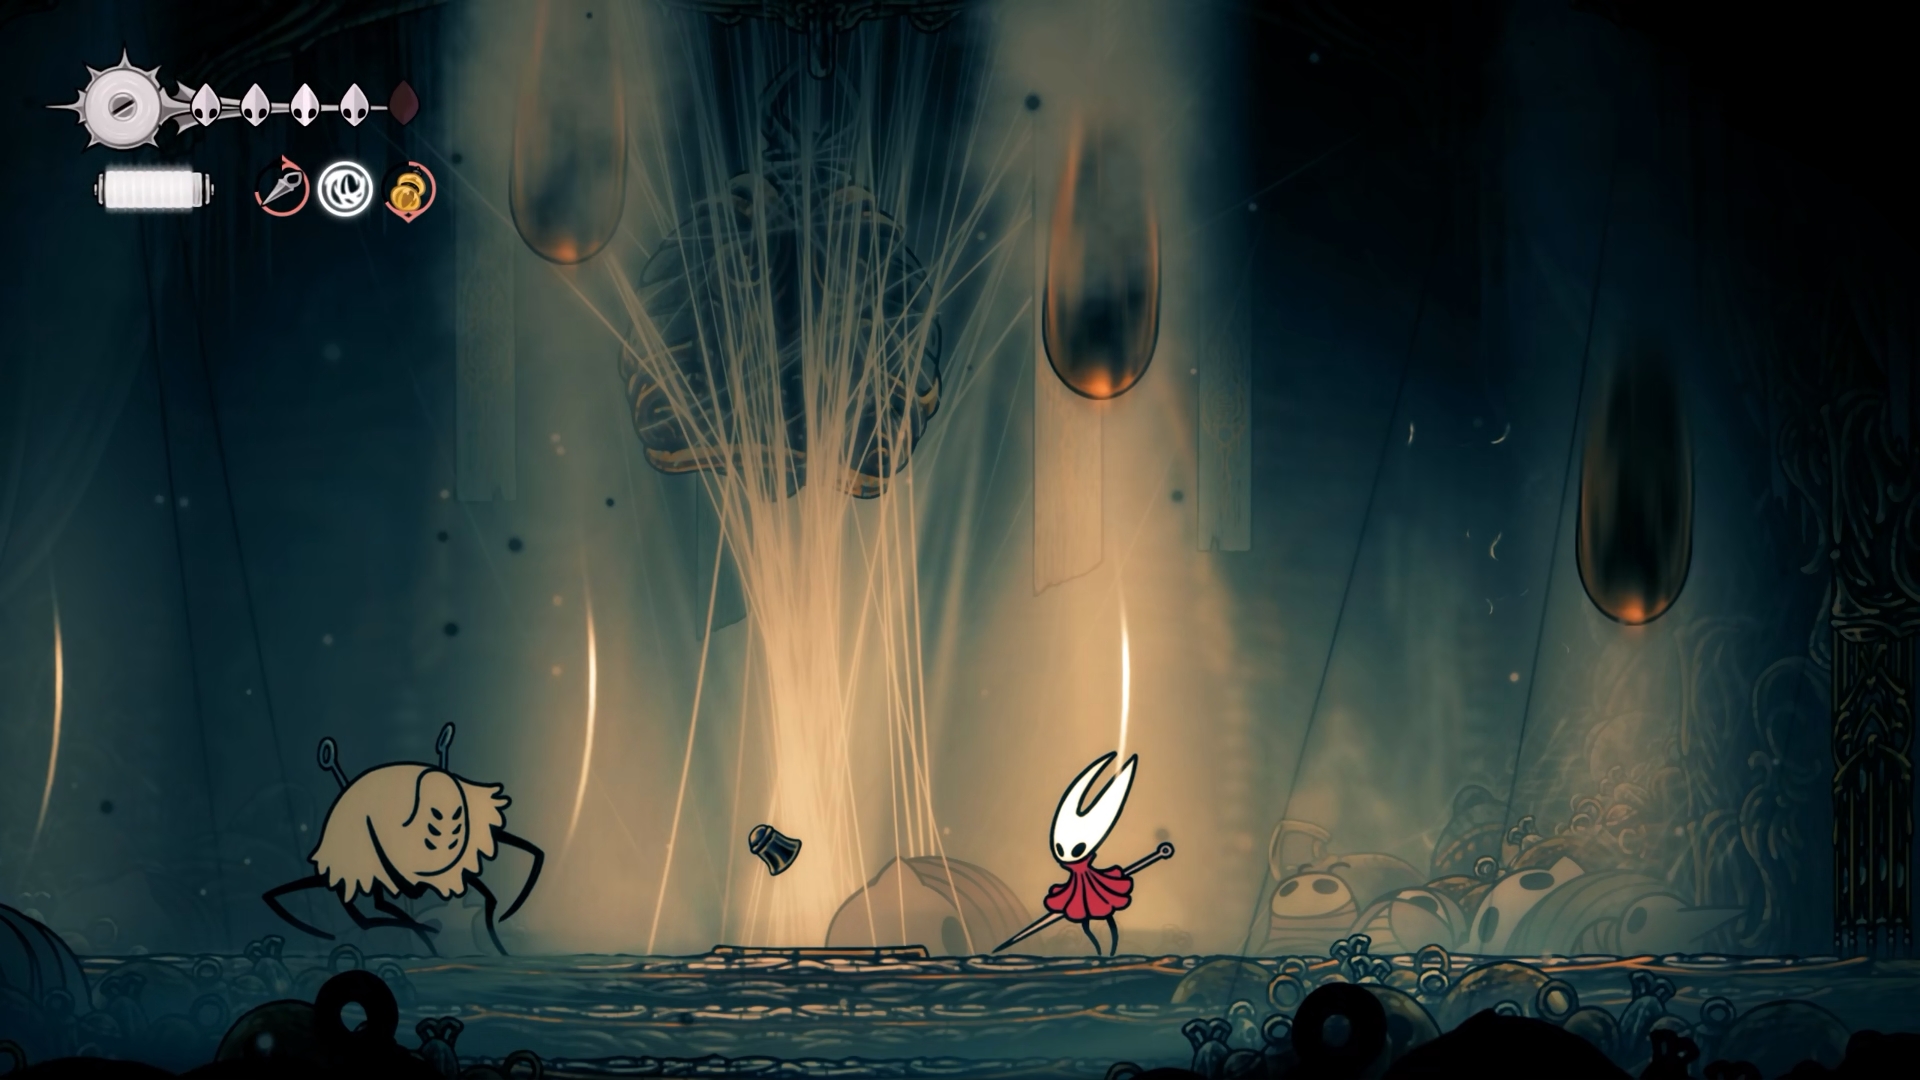
To free the town of Bellhart from its cursed webs, you're going to have to defeat the spider spinstress hiding above it: the Widow. This challenging boss is also one of the most fun in Act 1 of Hollow Knight: Silksong, thanks to a quick runback from the nearest bench and a number of attacks that deal only one damage to Hornet rather than the more painful double hits of so many Silksong bosses.
The Widow is fast but her attacks are well-telegraphed, so with a little study and patience you can learn her patterns and get through the first phase by making use of your drifter's cloak and new cling grip ability. The second phase gets a bit more chaotic, but I've got some tips for how to beat the Widow in phase two before she smooshes you to death with a rain of bells.
What do you need to fight Widow?
Here's what I used to beat the Widow, but there's no must-have bit of gear for this fight. I guess that's both good and bad—there's no way to trivialize this fight with a specific weapon, but it also means you don't need to be out there grinding for rosaries before the battle. You've got this!
- Five masks of health (starting amount)
- Reaper crest for attack range and easier downstabs
- Straight pin, warding bell and flea brew tools (the latter awarded from Silksong's lost fleas quest)
- Drifter's cloak and cling grip skills (you'll have acquired both of these by the time you fight the widow, but be prepared to use them!)
How to beat the Widow in Silksong
The Widow is a fast opponent, but she only has a few moves you'll need to learn to react to in order to survive the battle. I'll go over those in detail below, but first, some general tips for this battle:
- Be patient and focus on your positioning to avoid her Bell attacks. Pay attention to the threads to make sure you're not going to get domed by one of those while you're up close getting in some hits
- Whenever Widow summons the spiky debris from the floor, you can count on her to reappear on the same side she started the attack from, so if you can hug that wall with cling claw or float in that direction, you'll have a good window to get in a couple hits
- Both of her skittering-across-the-floor attacks provide a safe window to jump and heal in the air
- Be ready for Widow's fake-out death. You can stun Widow three times during the first phase of her fight, and then have to hit her a little more to "kill" her… or so it seems. She comes back for a shorter, more aggressive second phase doing all the same attacks, but with more intensity.
- Save your ranged weapons and flea brew for her second phase, when the fight gets much more intense. Then go all-out with them to get in safer damage. This phase is short, so fling those knives anytime you have a clear shot
- Try to be at full health for the start of the final phase; if you have enough silk, you'll have a safe heal window during Widow's fake-out death
Widow's key attacks to watch out for
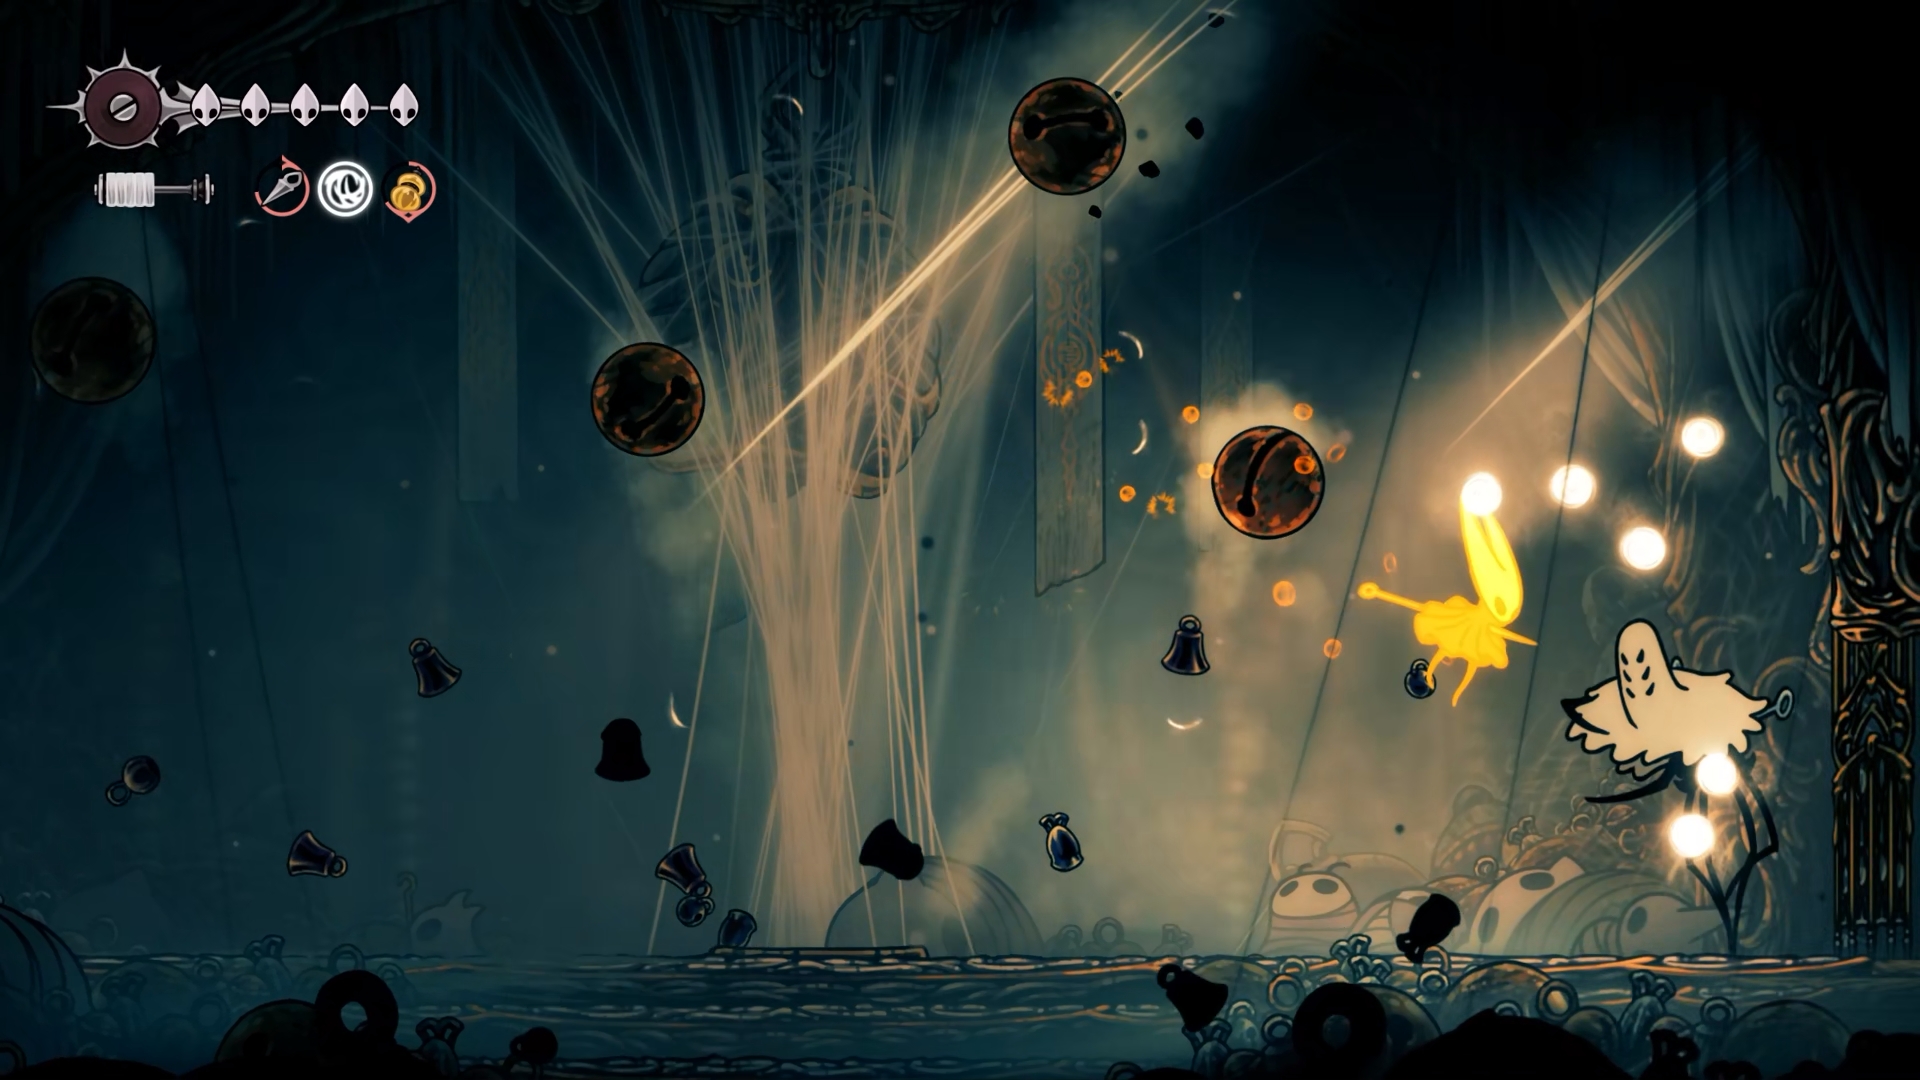
Summoning bell floor debris
Damage: 2 masks
Widow will skitter from left to right or right to left across the full length of the room as these triangular threads reach from floor to ceiling, warning you that a bunch of spiky bell debris will pop up from the ground, starting from the same direction the Widow ran from. Thankfully once you're used to it, this is a very easy attack to avoid by doing one of the following:
- Pogoing off the Widow's head and then holding A to float; make sure you float in the direction she came from as those bells will pop up and then disappear first
- Cling gripping to the side of the wall and hopping in place until the debris vanishes
- Jumping and performing a mid-air heal, though be careful of timing so that you don't fall onto the debris before it vanishes
Vertical and diagonal bell attacks
Damage: 1 mask
The easiest time to get several hits on the Widow is when she's standing in the middle of the chamber and summoning individual bells that come crashing into the arenas from straight above or a diagonal angle. The bells are fast, but they're telegraphed by bright golden threads that show you the exact path they'll be traveling. Make sure you're out of that path and then get in a few hits. Note that you can also deflect the bells with a well-timed strike, but they're so fast that it's better to step out of their path instead.
Diagonal air strike followed by flurry rush
Damage: 1 mask, then 2 masks
This attack is quite easy to read once you see it a few times, and provides a great opening to either get a hit on Widow or heal. First you'll see her appear in mid-air and ready her blade for a strike—she'll come down towards you on a diagonal, and you can avoid her by simply dashing underneath her. Make sure you're on the ground for this bit because it's much harder to avoid in the air.
After pausing on impact for half a second, Widow will then turn towards you and skitter across the ground, performing a rapid series of strikes. This is the more damaging bit of the attack, but thankfully it's not hard to deal with. You have three options here:
- Jump and do a downward attack to pogo off the Widow's back, dealing her a bit of damage. This is easier with the reaper crest than the starting one, since you can attack straight down
- Jumping straight up and healing; you'll be safe in the air as Widow passes directly below you
- Parrying the strikes by mashing the attack button as she passes through you
I recommend always trying to jump over this attack, but if you can't get a jump off in time then you can still get through it unscathed by swinging your needle right as she's about to hit you.
Note that in phase two, Widow will launch straight into the flurry rush from the ground, without doing the diagonal attack in advance. Be ready to jump quickly if you have enough distance, or try to land the parry.
Multi-bell attacks
Damage: 1 mask
As you progress through the fight the Widow's bell summoning will get more dramatic. She'll occasionally call in a rain of bells covering half the arena, or multiple bells spaced out with just enough room to stand in between them. These attacks are again always telegraphed with golden threads coming down from the ceiling, so they're not hard to dodge.
One tip though, especially as the fight gets more chaotic towards the end: Watch out for the bells bouncing. They can bounce off the ground once before disappearing, and I often jumped at just the wrong time to get smacked by one on the rebound.

Silksong guide: Home of all our bug-battling tips
Silksong flea locations: Gather the lost fleas
Silksong simple key locations: Where to use it
Silksong Hokers location: Support the Seamstress
Hunter's March bench: Yes there is one