As a photographer, your time is your most valuable asset. In this post, I’ll share practical tips and tricks to help you optimize your workflow—from the initial client booking process to making the most of your shooting sessions and, finally, editing those cherished images.
By refining each step, you’ll save hours of administrative work, allowing you to focus on what truly matters: capturing memorable moments for your clients.
Over the years, I’ve developed a process that transforms even the most hectic schedules into a manageable, efficient system. Join me as I dive into a typical photography session, exploring best practices that will help you streamline your business and boost your bottom line.
Let’s get started!

Let’s start with the first step of my photography workflow: Booking the Client. When a potential client reaches out to inquire about your services and packages, you want to respond quickly and effectively.
In my early days, I spent hours crafting lengthy, individualized replies for every inquiry. Over time, I realized I was repeating the same information, so I started keeping a “notes” section on my phone with categories for different session types. This allows me to quickly copy and paste essential details while still personalizing each response as needed.
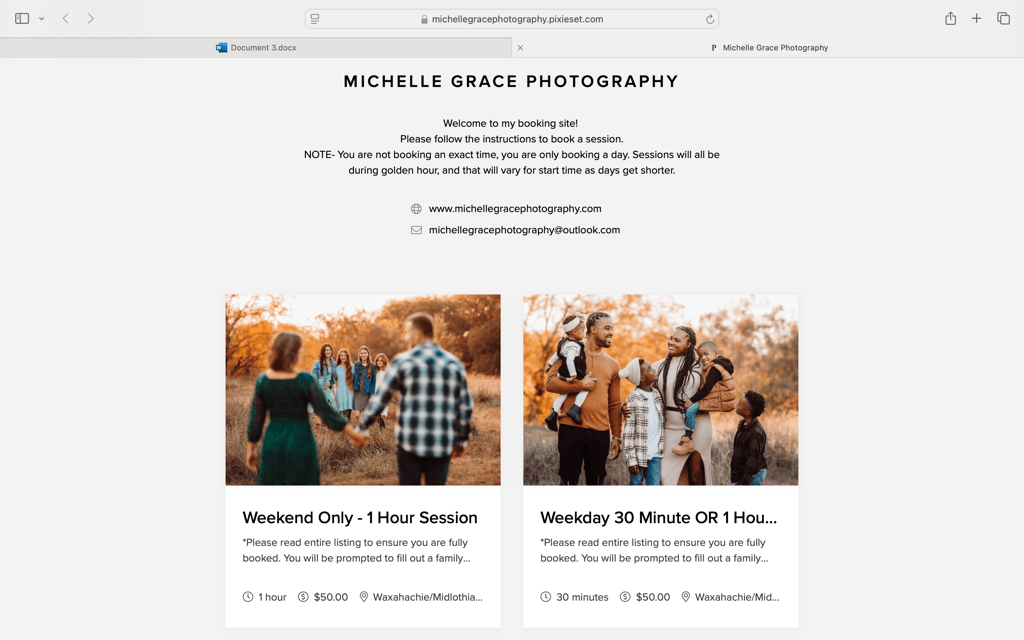
In my initial email, I include a booking link that walks clients through the entire process:
Switching to an online calendar has also been a game-changer. After years of relying on handwritten schedules (and occasionally forgetting to record a booking or accidentally double-booking), having a digital calendar ensures accuracy and keeps my workflow running smoothly.

Your client has officially booked—congratulations! Now is the time to strengthen the relationship by reassuring them they made the right choice and that you’re always available to answer questions.
In the week leading up to the session, touch base to confirm:
This is also a great moment to offer styling tips and other helpful suggestions. Whether proposing complementary outfit colors, discussing props, or providing a brief checklist of what to bring, these extra touches can help your clients feel confident and excited for their upcoming session.
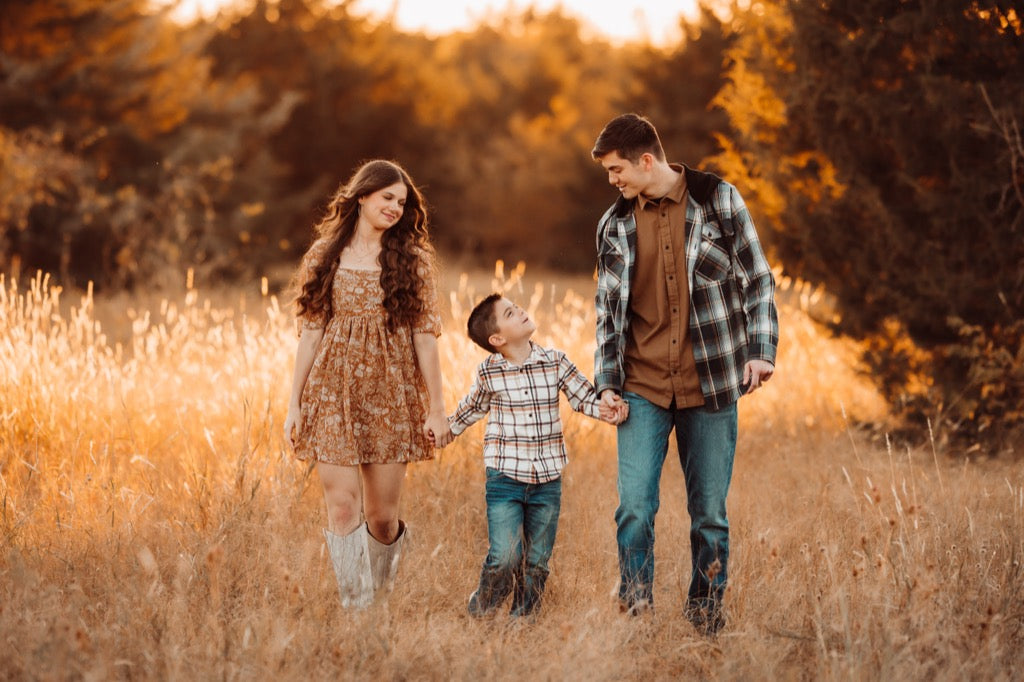
The big day is finally here! My first step is to revisit client emails since all my bookings and communications run through email. Then, I check the family questionnaire and jot each family member’s name somewhere easily visible (for me, that’s on my wrist with a Sharpie). This little trick is invaluable for building an instant connection—calling each person by name makes them feel welcomed and comfortable from the start.
To help streamline your session, I ALWAYS recommend the following:

When I arrive home from a shoot, I first label and store the SD card in a small booklet with transparent sleeves. I also place a note next to it with the family’s name and the due date for the final gallery. This simple system helps me stay on top of my editing queue, especially during busy seasons when SD cards can stack up quickly.
Over the years, my culling process has evolved. I used to download every single image to my computer and then sift through them to choose my favorites. Now, I plug in the SD card, quickly evaluate each photo, and drag the best ones into a folder labeled with the family’s name and “to edit.” Once I've selected the images, I import them into Lightroom Classic and jump into the creative process.
This is where developing your own unique editing style comes into play. For me, Pretty Presets has been a go-to resource over the past five years; it’s helped me refine my style and taught me valuable editing techniques along the way.
By staying organized and using tools that fit your artistic vision, you’ll save time and produce consistently beautiful results!
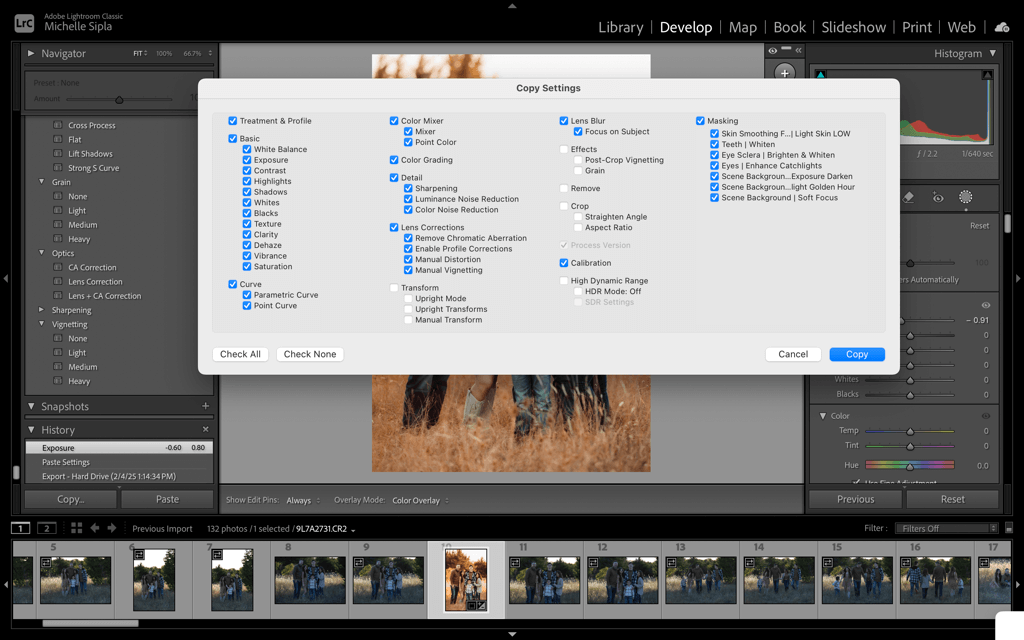
Over the years, editing has been the single most significant adjustment I’ve made to streamline my photography workflow, and Pretty Presets has been a complete game-changer in that area. Here’s how I typically use them:
This method keeps my editing process both efficient and creatively fulfilling, allowing me to deliver beautiful, cohesive galleries without getting bogged down in hours of post-processing.

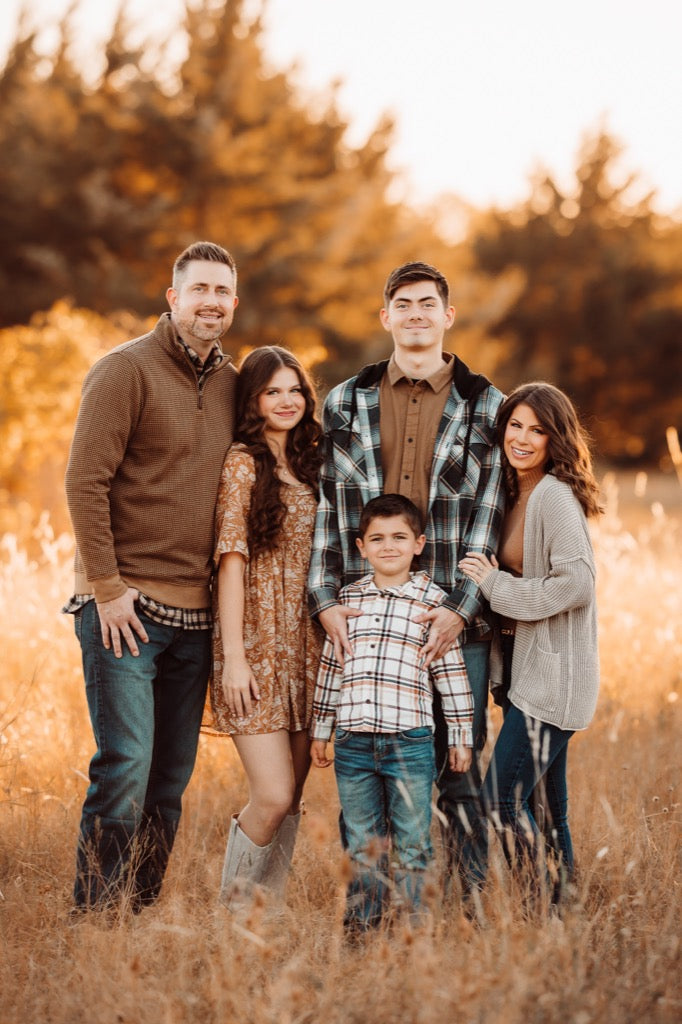
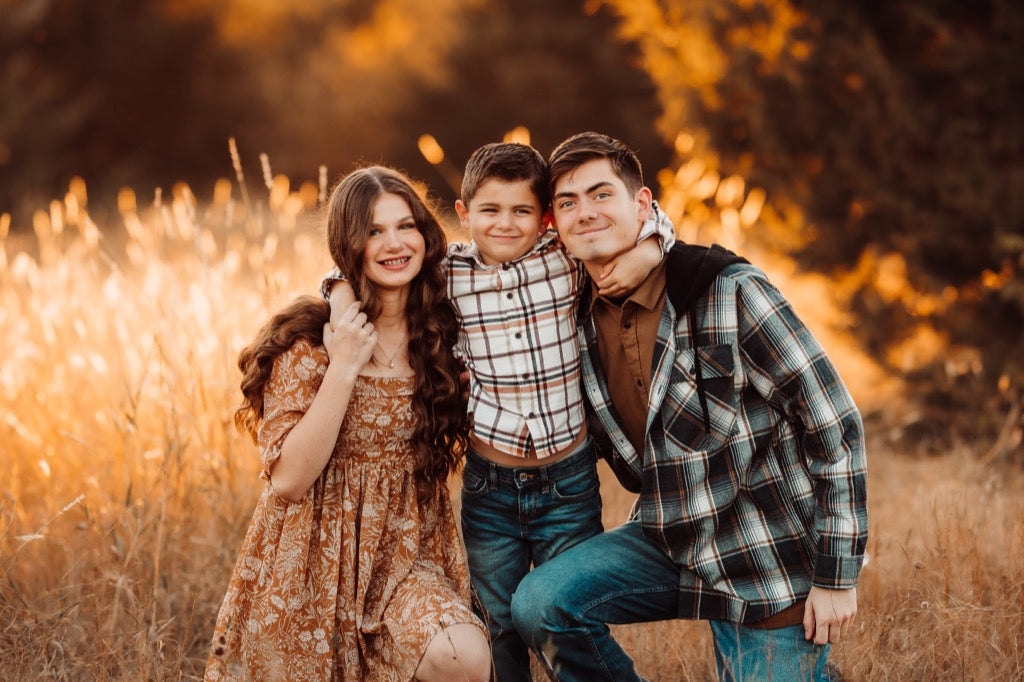
Image edited with Lightroom Presets & Profiles from the Wildheart Evolution Preset Collection
Once my batch edits finish processing, I begin a final pass through the gallery—clicking on each image to make minor adjustments like fine-tuning white balance or removing stray objects or flyaway hairs using Lightroom Classic’s new Remove Generative AI feature.
When I’m satisfied with the edits, I export each gallery in both color and black and white, giving clients a versatile selection for their personal use. After uploading the final images to a gallery, I send an email to the client, sharing a link to all of their precious photos.
Remember, streamlining your workflow is a process of trial and error—finding the tools and methods that work best for you, your business, and your lifestyle. For me, Pretty Presets has been central to saving time and consistently delivering beautiful art, preserving memories for countless families.
By refining your editing approach and exploring resources like Pretty Presets, you’ll achieve a smooth, efficient workflow that lets you focus on what truly matters: capturing moments your clients will cherish for a lifetime.
Thank you for joining me on this journey—from the first client email to the final image delivery. I hope these tips and insights challenge you to find innovative ways to work smarter, not harder. By streamlining your workflow, you’ll have more time to focus on what truly matters: creating heartfelt, memorable images your clients will cherish for years.
Keep exploring new techniques, tools, and strategies until you find the rhythm that best serves you and your business. Above all, enjoy the privilege of pausing life’s fleeting moments—freezing them in tiny bits of time for families and loved ones to relive. Happy shooting, and cheers to the beautiful, unique calling we share as photographers!